- 移动
- 旋转
- 仿射变换
- 用到的函数:cv2.getPerspectiveTransform()
扩展和缩放
cv2.resize()函数用法
void resize(InputArray src, OutputArray dst, Size dsize, double fx=0, double fy=0, int interpolation=INTER_LINEAR )
src:输入,原图像,即待改变大小的图像;
dst:输出,改变大小之后的图像,这个图像和原图像具有相同的内容,只是大小和原图像不一样而已;
dsize:输出图像的大小。如果这个参数不为0,那么就代表将原图像缩放到这个Size(width,height)指定的大小;如果这个参数为0,那么原图像缩放之后的大小就要通过下面的公式来计算:
       dsize = Size(round(fx*src.cols), round(fy*src.rows))

       其中,fx和fy就是下面要说的两个参数,是图像width方向和height方向的缩放比例。

fx:width方向的缩放比例,如果它是0,那么它就会按照(double)dsize.width/src.cols来计算;
fy:height方向的缩放比例,如果它是0,那么它就会按照(double)dsize.height/src.rows来计算;
interpolation:这个是指定插值的方式,图像缩放之后,肯定像素要进行重新计算的,就靠这个参数来指定重新计算像素的方式,有以下几种:
      INTER_NEAREST - 最邻近插值
      INTER_LINEAR - 双线性插值,如果最后一个参数你不指定,默认使用这种方法
      INTER_AREA -区域插值 resampling using pixel area relation. It may be a preferred method for image decimation, as it gives moire’-free results. But when the image is zoomed, it is similar to the INTER_NEAREST method.
      INTER_CUBIC - 4x4像素邻域内的双立方插值
      INTER_LANCZOS4 - 8x8像素邻域内的Lanczos插值
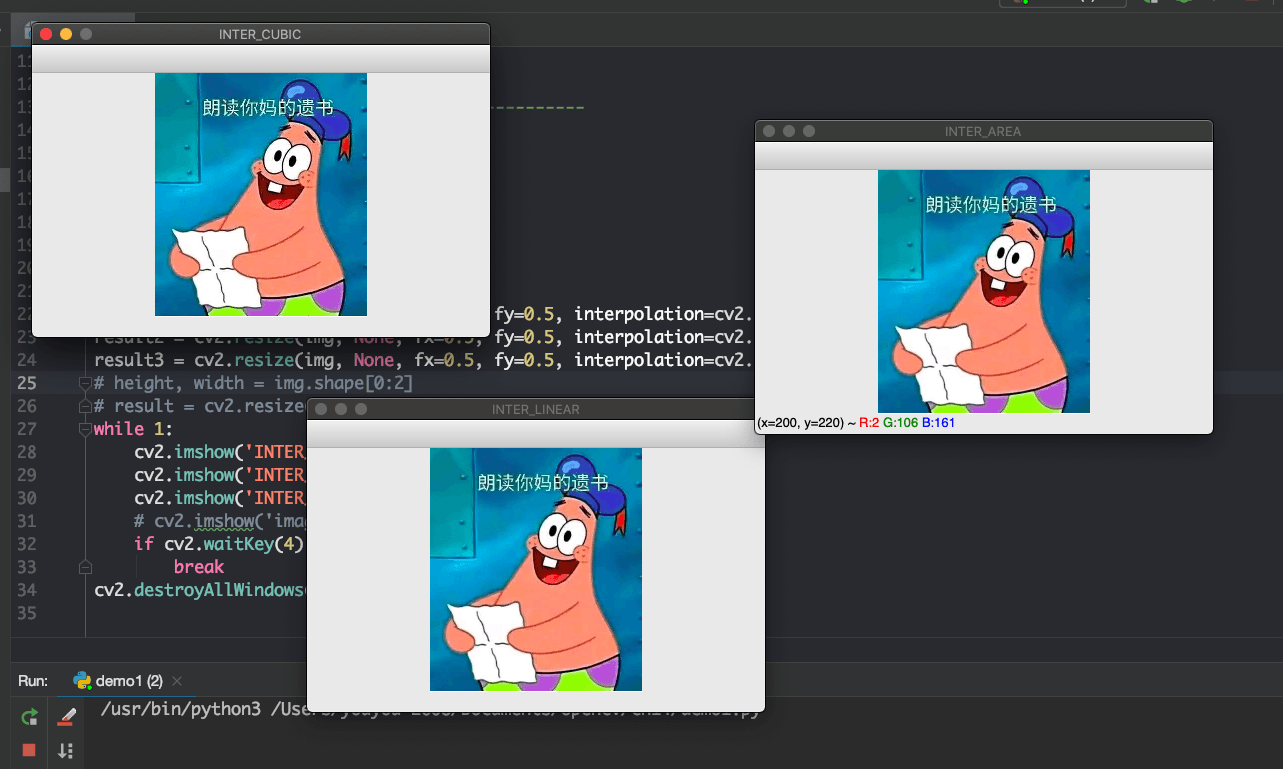
示例
使用cv2.resize()可以实现对图片的大小调整。
三种插值方法:
- cv2.INTER_AREA
- cv2.INTER_LINEER
- cv2.INTER_CUBIC
import cv2
import numpy as np

img = cv2.imread("../imgs/pi.png")
result1 = cv2.resize(img, None, fx=0.5, fy=0.5, interpolation=cv2.INTER_CUBIC)
result2 = cv2.resize(img, None, fx=0.5, fy=0.5, interpolation=cv2.INTER_AREA)
result3 = cv2.resize(img, None, fx=0.5, fy=0.5, interpolation=cv2.INTER_LINEAR)
# height, width = img.shape[0:2]
# result = cv2.resize(img, (2 * width, 2 * height), interpolation=cv2.INTER_CUBIC)
while 1:
    cv2.imshow('INTER_CUBIC', result1)
    cv2.imshow('INTER_AREA', result2)
    cv2.imshow('INTER_LINEAR', result3)
    # cv2.imshow('image', img)
    if cv2.waitKey(4) == ord('q'):
        break
cv2.destroyAllWindows()
结果如下:
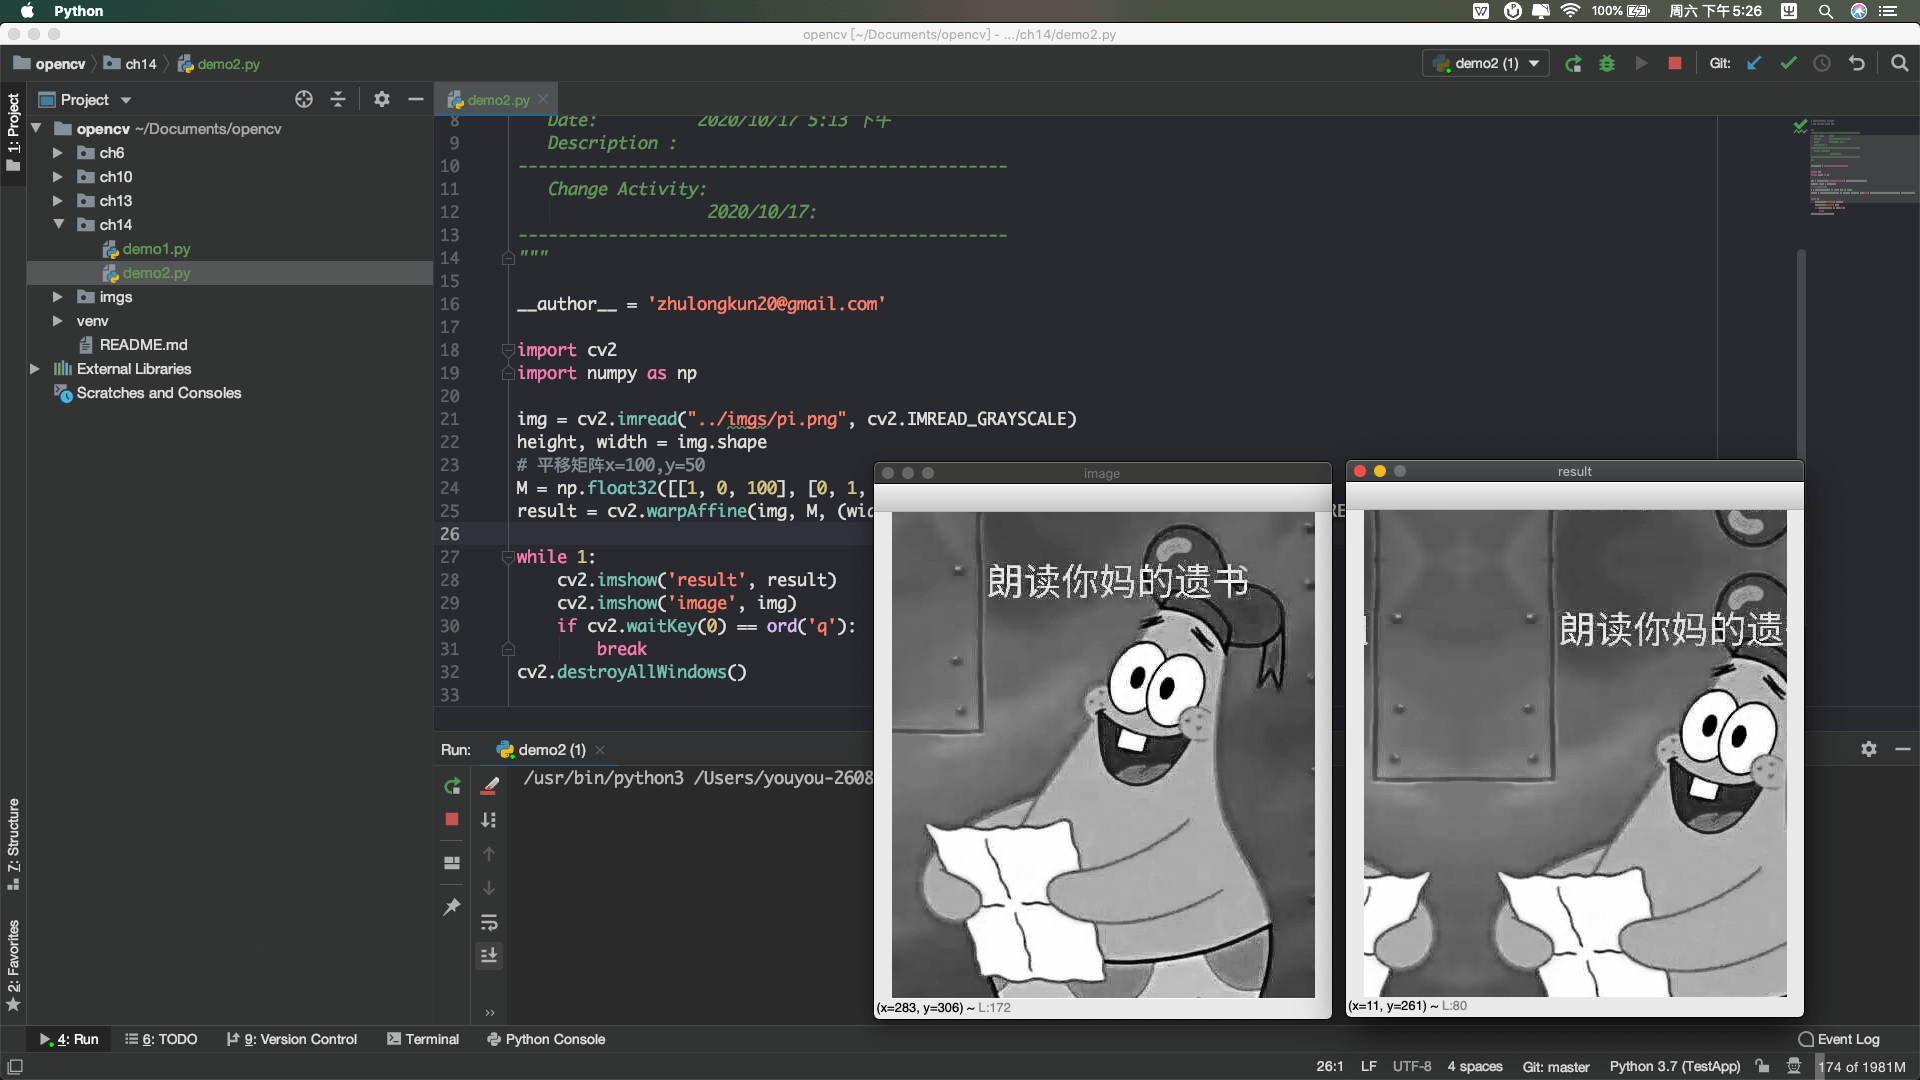
图像的平移
使用cv2.wrapAffine()实现图像的平移。
函数 cv2.warpAffine() 的第三个参数的是输出图像的大小,它的格式
应该是图像的(宽,高)。应该记住的是图像的宽对应的是列数,高对应的是行
数。
import cv2
import numpy as np

img = cv2.imread("../imgs/pi.png", cv2.IMREAD_GRAYSCALE)
height, width = img.shape
# 平移矩阵 100x50
M = np.float32([[1, 0, 100], [0, 1, 50]])
result = cv2.warpAffine(img, M, (width, height), dst=None, borderMode=cv2.BORDER_REFLECT, borderValue=3)

while 1:
    cv2.imshow('result', result)
    cv2.imshow('image', img)
    if cv2.waitKey(0) == ord('q'):
        break
cv2.destroyAllWindows()
结果如下:
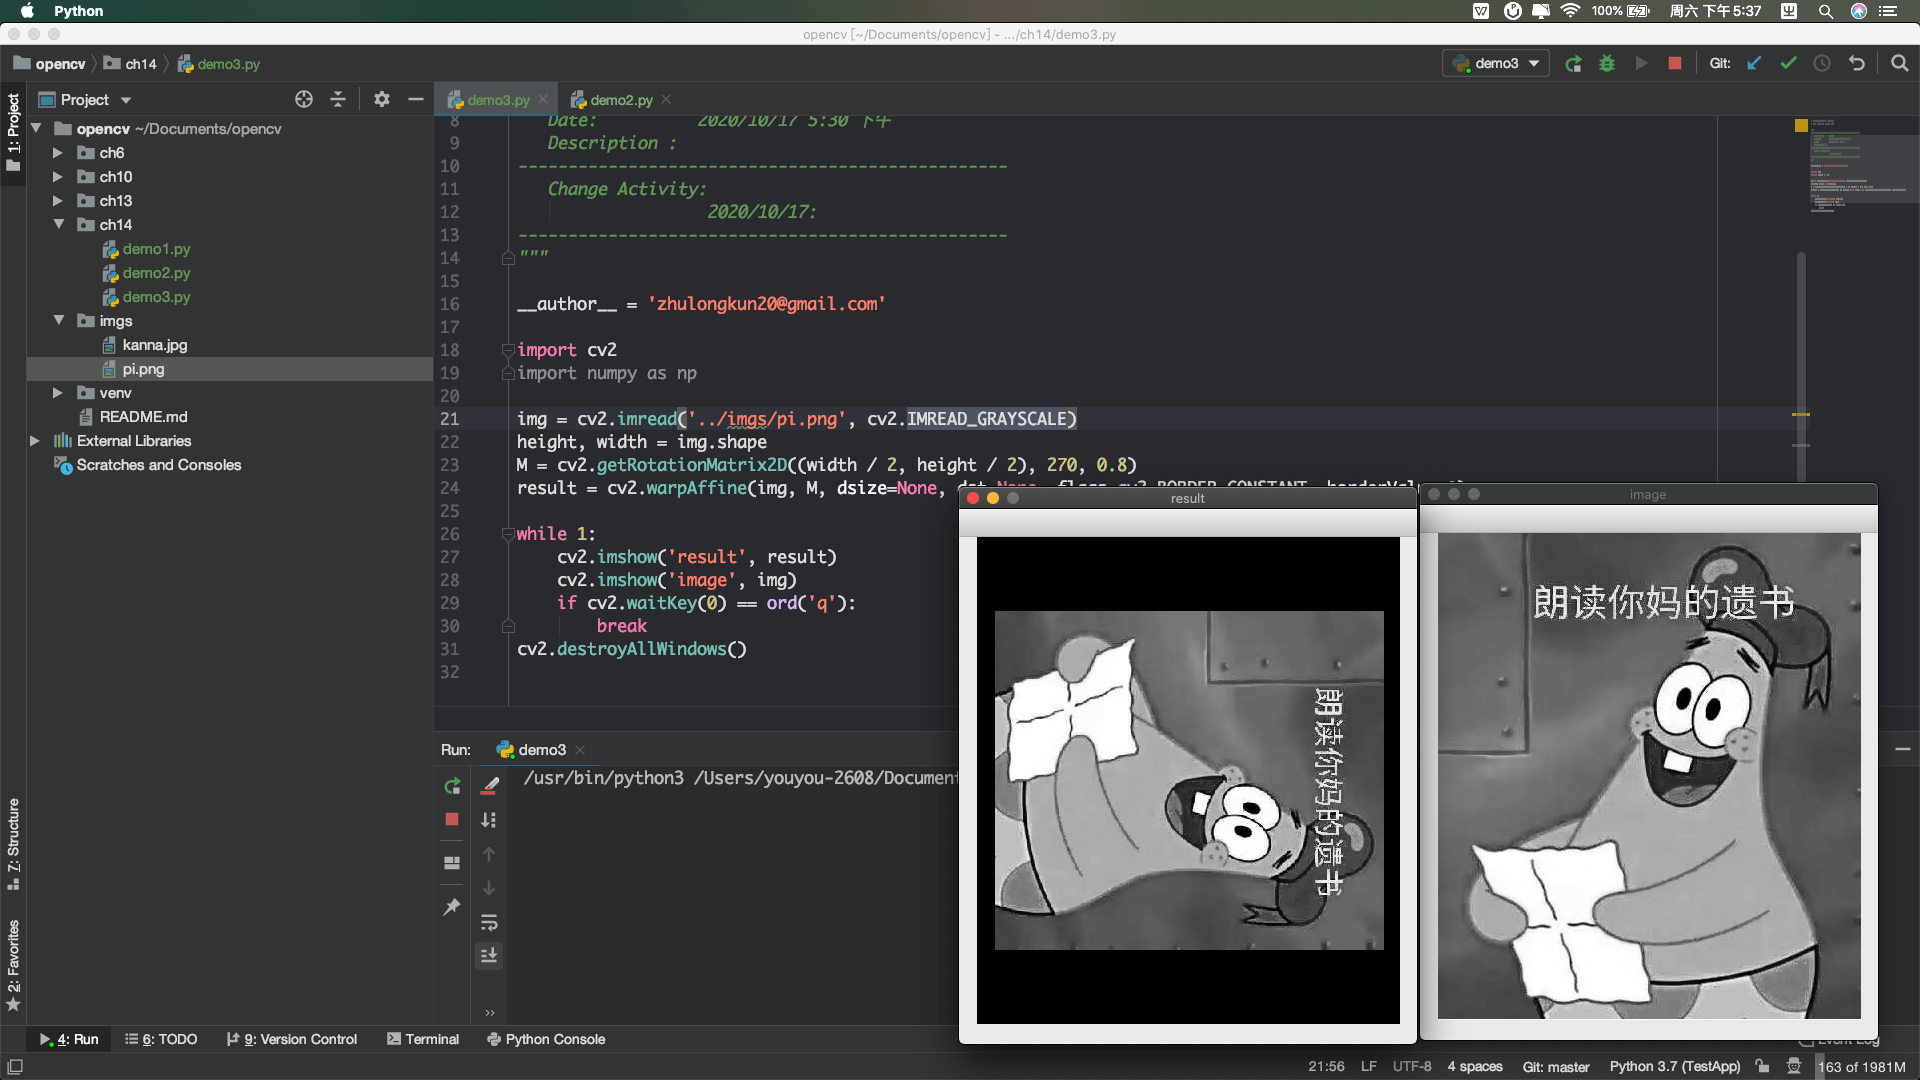
图像的旋转
opencv中对图像的旋转主要是先通过getRotationMatrix2D函数得到图像的旋转矩阵,然后再通过仿射变换函数warpAffine得到旋转后的图像。
参数说明:
getRotationMatrix2D:
- center–表示旋转的中心点
- angle–表示旋转的角度degrees
- scale–图像缩放因子
warpAffine:
- src – 输入的图像
- M – 2 X 3 的变换矩阵.
- dsize – 输出的图像的size大小
- dst – 输出的图像
- flags – 输出图像的插值方法
- borderMode – 图像边界的处理方式
- borderValue – 当图像边界处理方式为
BORDER_CONSTANT时的填充值
import cv2
import numpy as np

img = cv2.imread('../imgs/pi.png', cv2.IMREAD_GRAYSCALE)
height, width = img.shape
M = cv2.getRotationMatrix2D((width / 2, height / 2), 270, 0.8)
result = cv2.warpAffine(img, M, dsize=None, dst=None, flags=cv2.BORDER_CONSTANT, borderValue=1)

while 1:
    cv2.imshow('result', result)
    cv2.imshow('image', img)
    if cv2.waitKey(0) == ord('q'):
        break
cv2.destroyAllWindows()
输出结果:
仿射变换
在仿射变换中,原图中所有的平行线在结果图像中同样平行。为了创建这
个矩阵我们需要从原图像中找到三个点以及他们在输出图像中的位置。然后
cv2.getAffineTransform 会创建一个 2x3 的矩阵,最后这个矩阵会被传给
函数 cv2.warpAffine。
import cv2
import numpy as np
from matplotlib import pyplot as plt

img = cv2.imread("../imgs/pi.png")
rows, cols, ch = img.shape
pts1 = np.float32([[50, 50], [200, 50], [50, 200]])
pts2 = np.float32([[10, 100], [200, 50], [100, 250]])

M = cv2.getAffineTransform(pts1, pts2)
dst = cv2.warpAffine(img, M, (cols, rows))
plt.subplot(121, plt.imshow(img), plt.title('Input'))
plt.subplot(121, plt.imshow(img), plt.title('Output'))
plt.show()
报错:
    cols = int(cols)
TypeError: int() argument must be a string, a bytes-like object or a number, not 'AxesImage'
图像的翻转
参数说明:
- src – 输入的图像
- dst – 输出的图像
- flipCode – 翻转模式,flipCode==0垂直翻转(沿X轴翻转),flipCode>0水平翻转(沿Y轴翻转),flipCode<0水平垂直翻转(先沿X轴翻转,再沿Y轴翻转,等价于旋转180°)
import cv2
import numpy as np

img = cv2.imread("../imgs/pi.png")
flip_img = cv2.flip(img, 0)

while 1:
    cv2.imshow('image', img)
    cv2.imshow('flip_img', flip_img)
    if cv2.waitKey(0) == ord('q'):
        break
cv2.destroyAllWindows()
结果:

!